
Show documents from query
To view documents associated with the query record, you have to follow the below steps:
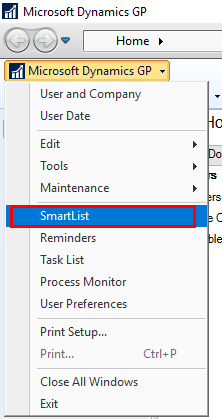
1. Log into Dynamics GP, click on Microsoft Dynamics GP drop-down and select SmartList option from the menu options as shown in the below screen.
2. The SmartList window opens as shown in the below screen. Select the desired Module, Record type, and query from the list for which you want to show documents.
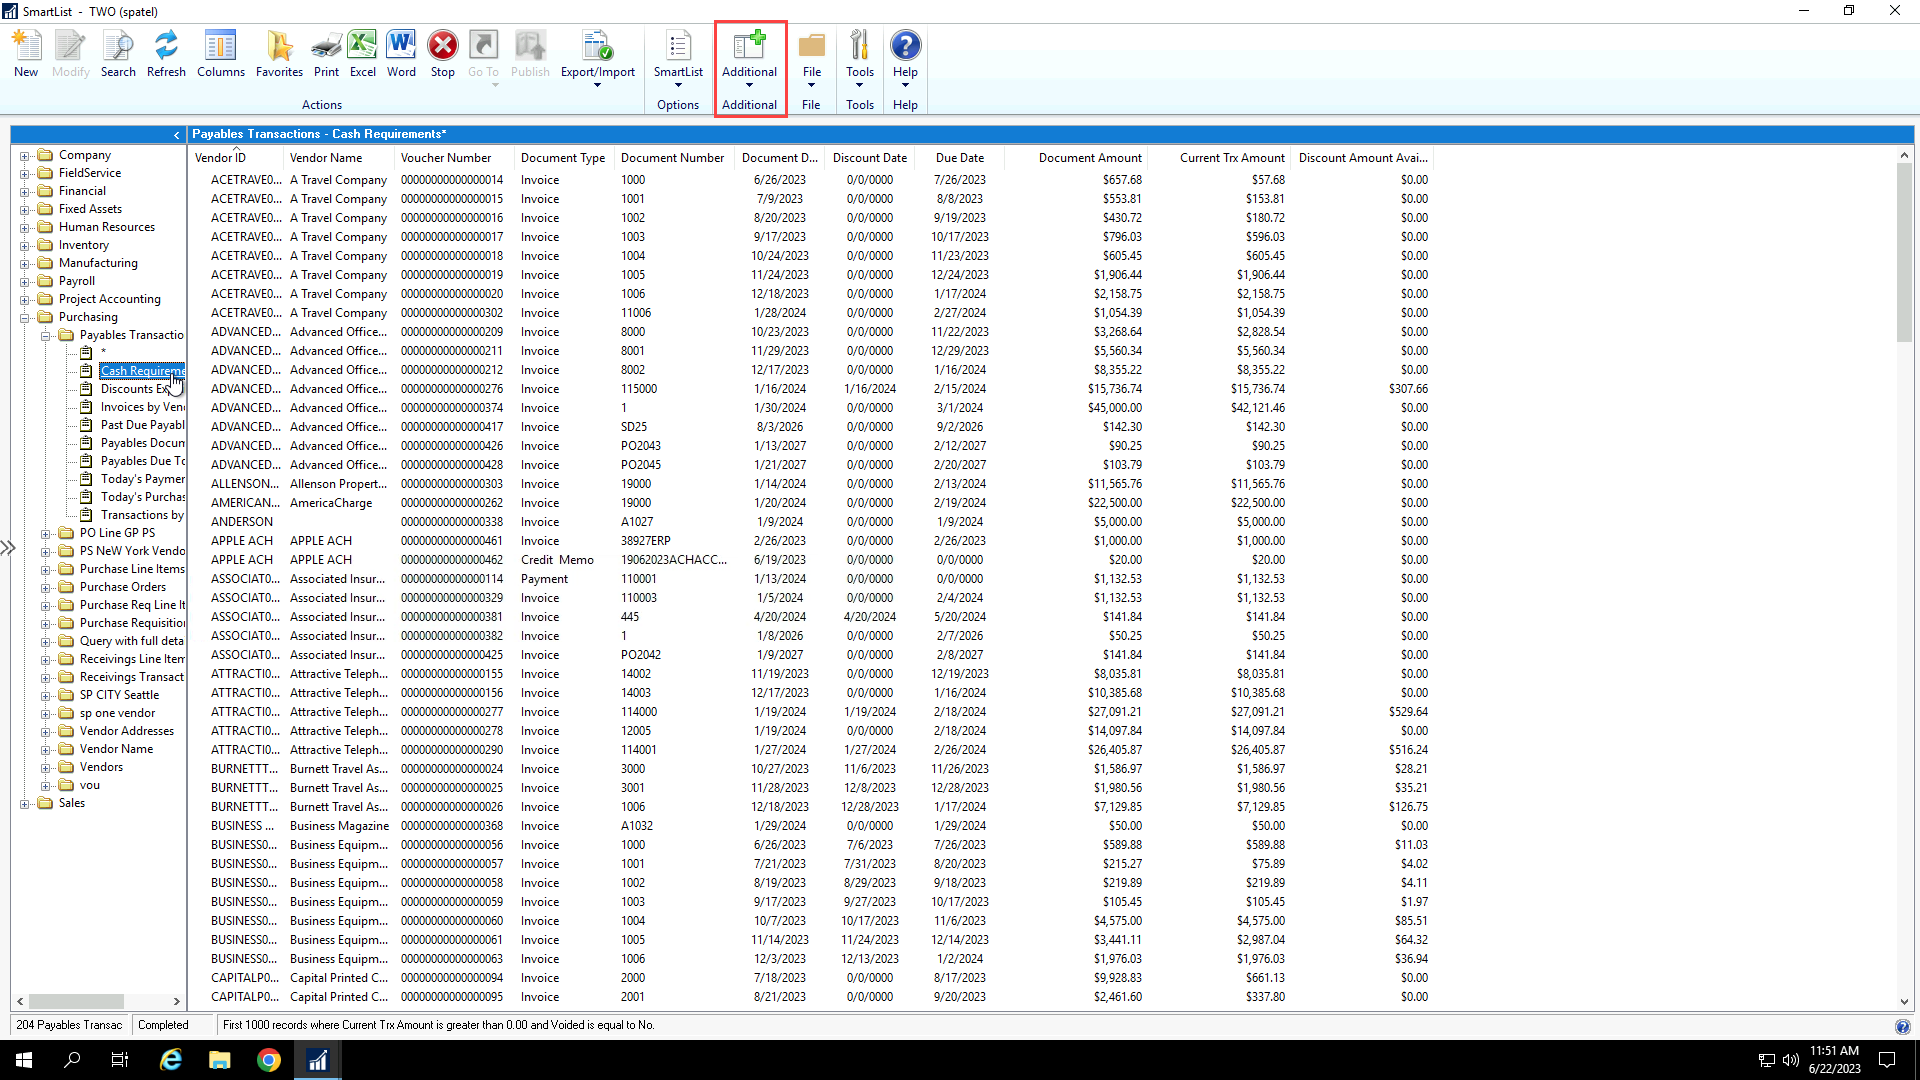
3. Click on the Additional option from the top toolbar and select PS Show Documents from Query option as shown in the below screen.

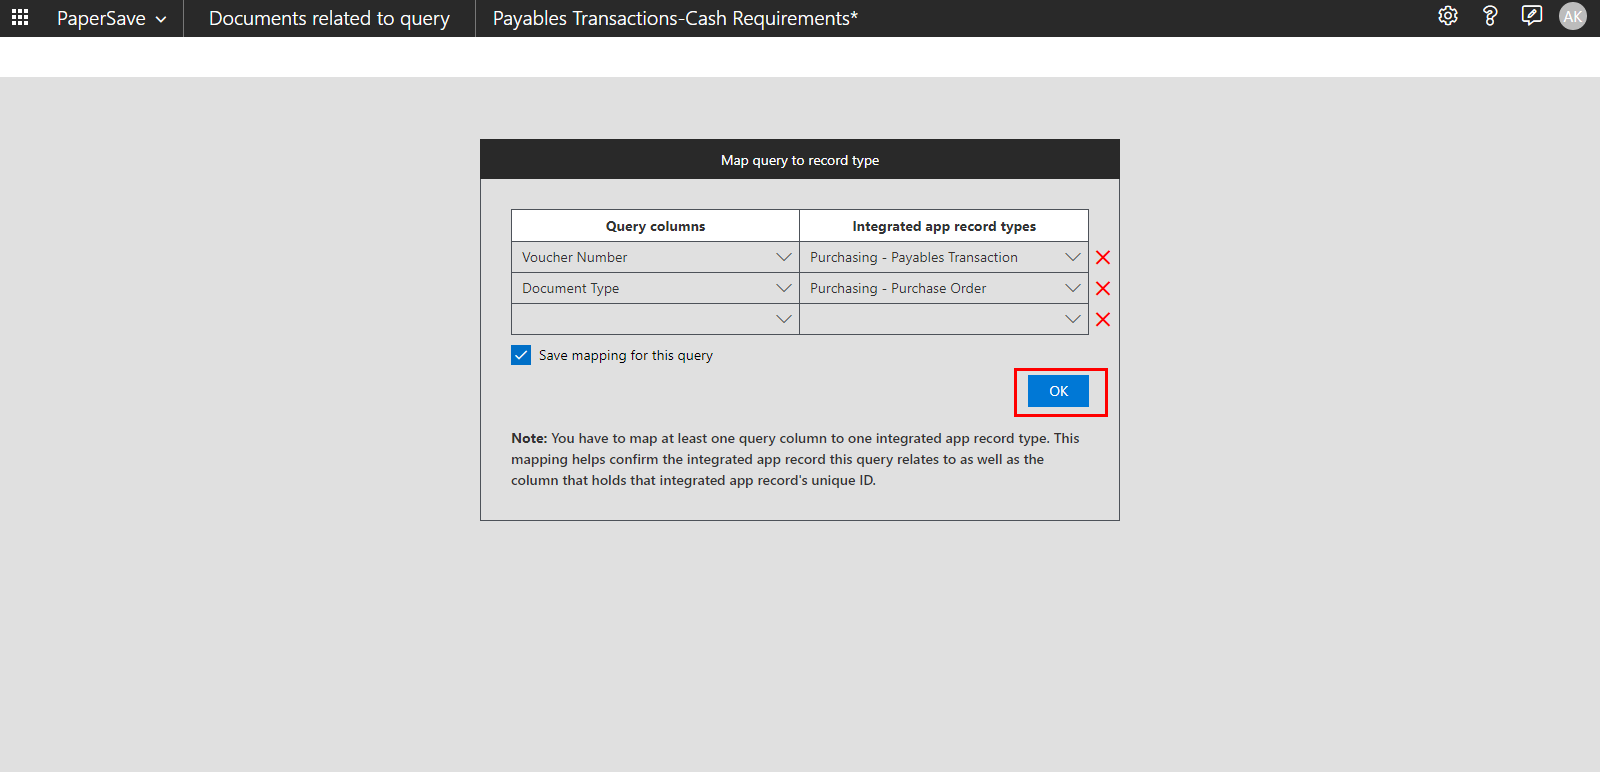
4. Now, you get redirected to the "Documents related to query" window in the browser as shown in the below screen. Here, you have to map multiple query columns with the different record type from the drop down list and click on OK to map the query. Also, you can check the box to save the current mapping directly from the dialog box.
5. Once you click on OK, you are redirected to the Documents related to query page, where you can see a list of the related document based on the mapped query as shown below.
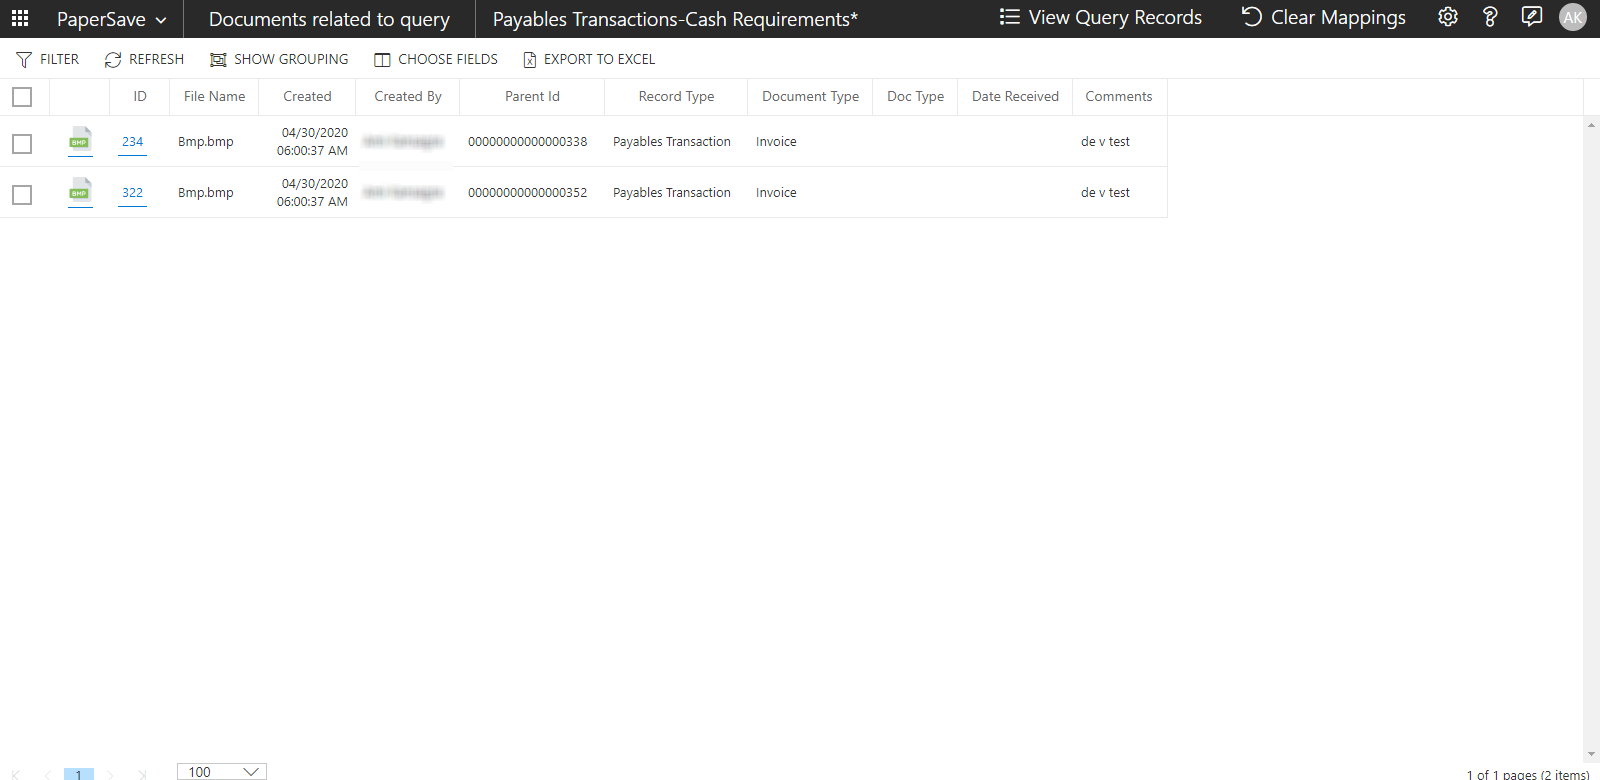
6. From documents related to query page, you can navigate to different PaperSave Areas, view the list of query records, save/clear mappings and view/edit the document. This page also contains the list toolbar with the following options:
- Filter: This option allows you to narrow down the items in the list by applying filter conditions. Learn more about Filter.
- Refresh: This option updates the recent changes in the show document list
- Show Grouping: This options helps you to cluster the items in the list based on the desired header fields
- Choose Fields: This option allows you to set desired preferences for the fields to be displayed in the current list using Choose Fields. Learn more about Choose Fields.
- Export to Excel: This option exports the current list of items to Microsoft Excel Sheet. Learn more about Export to Excel.
Note: When you save the current mapping, you wouldn't have to map the fields again in future. If the mappings are saved, then Save Mappings title will be changed to Clear Mappings. You can click on clear mapping to create the new mappings.
7. Click on the ID hyperlink or double-click on a row to open the document in the item viewer, validate the required values in the profile fields, apply annotations (if desired) and click on Save to update the document within the selected record.